English
 Deutsch
Didn't find a product that suits you?
Contact us for the latest news.

A brake pedal that sinks toward the floor while a loaded truck rolls into the yard is not a job for next month. It is a hydraulic fault, and the vehicle should come out of service until someone inspects it. Every other brake warning sign sits somewhere on the same scale: some mean stop now, others mean book a bay this week, and recognising the difference is what keeps a warning a repair instead of an incident.
Below are the dashboard lights, pedal sensations, noises, and handling changes that belong to the brake warning family, each paired with what it monitors and how fast it needs attention. Because brake and suspension symptoms overlap on commercial vehicles, the later sections separate the two and explain why a worn damper can imitate a brake fault without tripping a single warning light.
Content
Colour is the first filter. A red brake warning light, usually a circle with an exclamation mark, the word BRAKE, or both, points at the service brake system: parking brake engagement, hydraulic pressure, or fluid level. An amber ABS light points at the anti-lock electronics, meaning wheel-speed sensors, tone rings, wiring, and the ABS module. Red means the system that stops the vehicle may be compromised. Amber means a system that improves the stop under hard braking has been disabled, while base braking usually still works.
That difference is widely misread, which is why the table below separates what each indicator monitors from how urgently it should be handled.
| Warning | Typical appearance | What it monitors | Urgency |
|---|---|---|---|
| Brake system light | Red, circle with exclamation mark or the word BRAKE | Parking brake, fluid level, hydraulic pressure | Stop and inspect before driving further |
| ABS light | Amber, letters ABS | Wheel-speed sensors, wiring, ABS module | Diagnose within days; normal braking may remain |
| Pad wear indicator | Amber lamp or cluster text | Wear sensor circuit at the brake pad | Measure pads and plan replacement |
| ABS and brake light together | Red and amber at once | Hydraulics plus wheel-speed circuit, often low fluid | Treat as red: stop and diagnose |
| Trailer ABS lamp | Amber, on the trailer or the dash | Trailer ABS module and wheel sensors | Do not dispatch the combination unit |
A warning light reports that a circuit crossed a threshold; it does not name the failed part. The same lamp can be triggered by an unplugged sensor, a chafed wire, a fluid level two millimetres low, or a genuinely failing master cylinder. The light is a starting point for diagnosis, never a verdict.
Mechanical warnings usually arrive before or alongside the lamp, and they are more specific about location:
On a loaded truck or a combination unit these signs get worse with weight. A fault that is barely noticeable bobtailing can become a serious stopping-distance problem at gross combination weight, so test drives should be loaded wherever possible.
Most brake warnings trace back to one of three conditions, and each has a different consequence for the repair.
An easily missed fourth trigger is a parking brake that releases only part of the way. That leaves the warning lamp lit and heat building in the drum or disc, and hub temperature after a short run will identify it quickly.
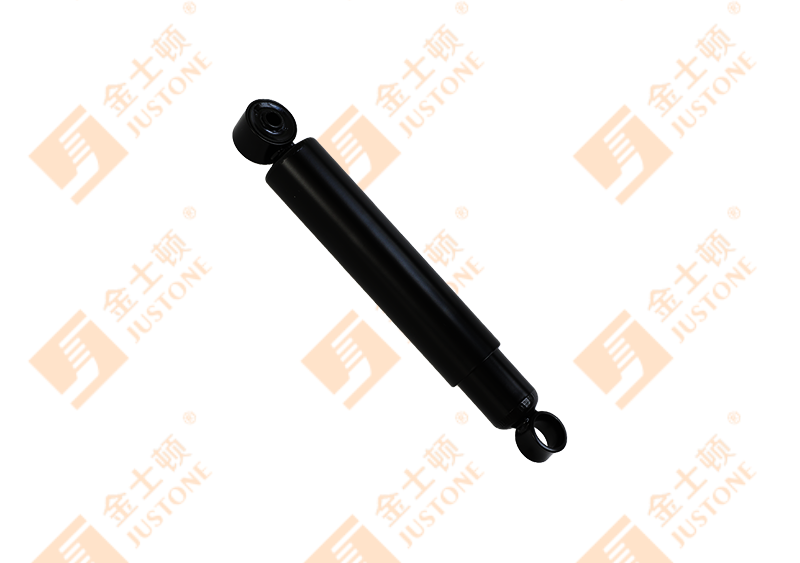
Dampers do not trigger brake warning lights, but they change almost every physical symptom a driver reports. A worn chassis shock lets the front axle dive further under braking, which unloads the rear axle, extends stopping distance, and can make the ABS cycle earlier than it should on a rough surface. Worn damping also allows wheel hop, which interrupts the tyre contact patch and can feel exactly like a warped rotor through the steering wheel.
The reverse mistake is just as common. Pull to one side while braking is usually a caliper or hose problem rather than a shock, while a floaty, wandering feel under braking is far more often damping. The article on how shock absorbers function in a heavy truck chassis explains how that load transfer behaves on a commercial platform.
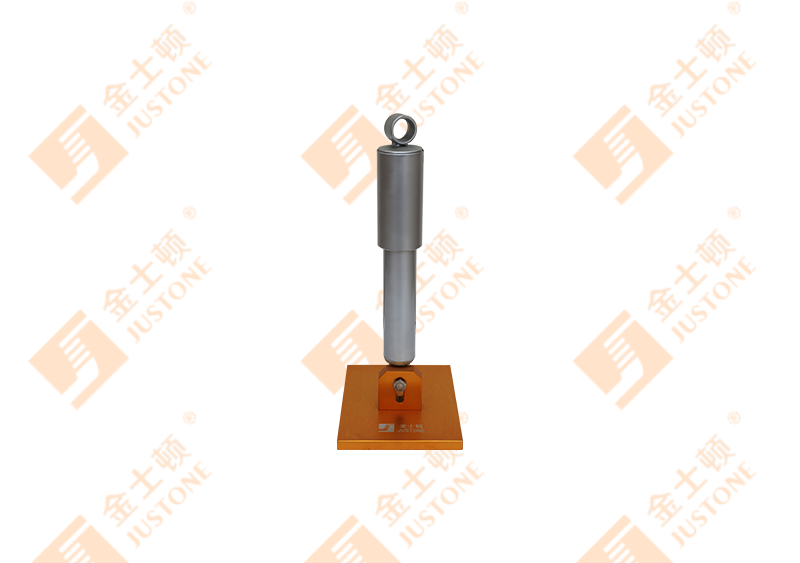 Heavy Truck Chassis Shock AbsorbersExplore custom OEM/wholesale heavy truck chassis shock absorbers, with links to detailed product information and replacement-interval guidance for fleet maintenance.View Product →
Fleets get better answers by inspecting both systems on the same interval. Measure pad and rotor thickness against the stamped minimum, then check damper condition: fluid weeping, worn bushings, torn dust boots, and a rod that no longer returns smoothly. A truck that has worn out three sets of pads on one set of dampers is running on its weakest link.
Trailers add warnings that are easy to miss because the driver never feels them directly:
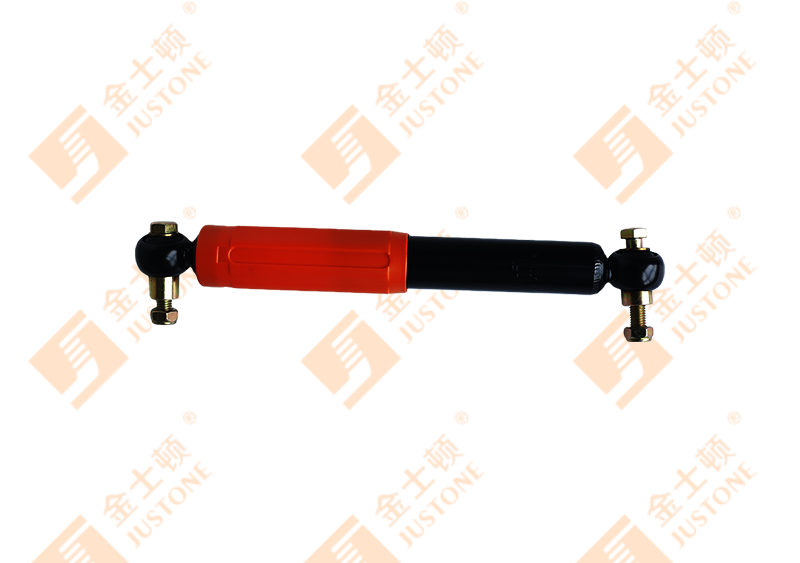 Trailer Coupling Dampers and Trailer DampersReview custom OEM trailer coupling dampers for reducing towing vibrations, plus wear signs and performance factors relevant to trailer maintenance.View Product →
Trailer damping and trailer braking are usually funded from separate maintenance lines, which is a mistake. A coupling damper that has lost its resistance lets the trailer move relative to the tractor at the exact moments when brake forces are highest, and no brake adjustment compensates for that movement.
On a single vehicle that sequence is a shop routine. Across a fleet it decides which unit comes off the road first and how the repair lands on the delivery schedule. Recording pad thickness and damper condition over time turns each brake warning into a predictable maintenance event, which is where the real cost saving sits.
Contact us for the latest news.
Copyright @ Hangzhou Justone Industry Co., Ltd.
 OEM Commercial Vehicle Shock Absorbers Manufacturers
Wholesale Car Shock Absorbers Factory