English
 Deutsch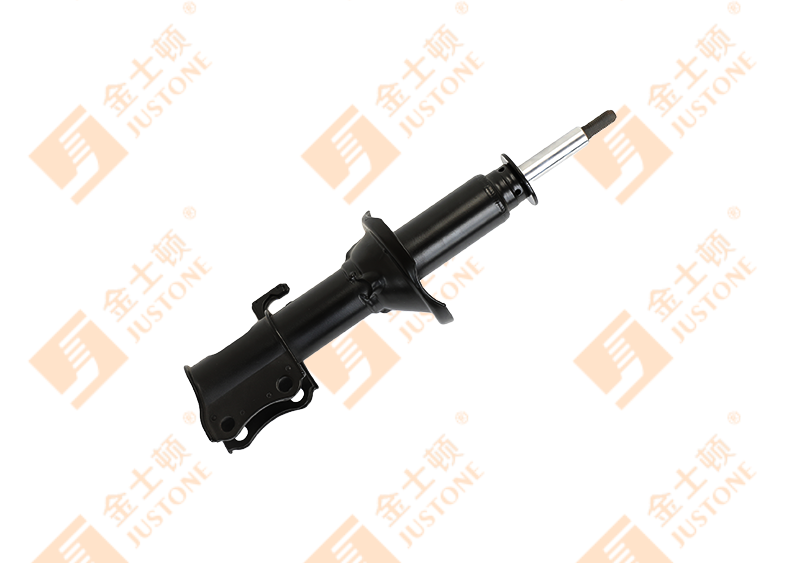
Didn't find a product that suits you?
Contact us for the latest news.

When the rear of a loaded trailer starts to bounce after a bump, or a truck cab feels unsettled on the highway, worn rear shock absorbers are often the cause. On commercial vehicles, the replacement job follows a predictable sequence: raise the vehicle, support the axle, remove the old dampers, and install the new units with the correct hardware and torque. The steps are not complicated, but skipping the preparation can turn a routine job into a safety risk. This guide goes through the process and points out where a commercial vehicle owner or technician should pay extra attention.
Content
Before ordering parts, confirm that the rear shock is the source of the vibration. A rear damper that is worn will not prevent the axle from oscillating, but the same symptom can come from a broken leaf spring, a worn air bag, or a loose U-bolt. Jack the vehicle up and rock each rear wheel side to side. If there is play in the wheel bearings, a shock absorber will not fix it. A quick check of the rear suspension bushings also helps.
If the damper looks wet along the shaft, the seal has failed and fluid loss is likely. A leaking shock loses its ability to control rebound, and the vehicle will ride like a boat on a load of heavy aggregate. On the other hand, a dry shock with a straight rod may still be worn internally. In either case, the only reliable way to restore damping is to replace the unit with one that matches the original calibration.
Rear shocks on trucks and trailers work harder than most people realize. They control the movement of the axle relative to the frame, and they dissipate energy every time the wheels hit a road joint. In a commercial setting, that energy is multiplied by axle weight. Over time, the internal valve stack and seal surfaces erode, and the damping force drops off. A rear shock that feels intact at normal curbside speed may already be failing when the vehicle is loaded.
The symptoms are easy to notice: excessive oscillation after a bump, instability during braking, and uncomfortable side-to-side sway when the trailer is nearly empty. A simple test is to push down on the rear corner of the vehicle and release it. If the body keeps oscillating more than twice, the dampers are no longer controlling the movement.
Selecting the right rear shock absorber is more important than the installation itself. A damper that is too soft will allow the axle to move too much, while an overly stiff unit can transfer road impacts into the frame and cause cracking. Start with the vehicle's original equipment specifications, including the extended and compressed lengths, the mounting style, and the damping calibration. Never assume a universal part will work just because the bolt spacing matches.
For commercial operators, understanding how shock absorbers function in heavy truck chassis helps you make an informed decision. The rear axle of a heavy truck must be damped in both compression and rebound, and the shock also influences tire contact and braking stability. Replacing a rear damper with an under-rated unit creates a hidden risk that may only appear on a loaded run.
It is also worth checking the condition of the mounting bushings, springs, and air bags before you buy new shocks. A worn spring will work against a new damper and produce the same bouncy feeling. In many cases, replacing a set of rear shocks on the same axle is the right call, because a single new unit will quickly wear to match the old one.
Before you start, make sure the vehicle is parked on a flat, solid surface. You need a floor jack that is rated for the axle weight, a pair of heavy-duty jack stands, and wheel chocks. Never rely on a hydraulic jack alone to hold a loaded commercial vehicle. Rear axle weights can be more than five tons, and a collapse is fatal.
The tool list is not long: a socket set with the right sized sockets, a breaker bar, a torque wrench, a wire brush, a penetrating oil, and the new mounting hardware that came with the damper. If the rear axle is equipped with a leaf spring, you may also need a spring compressor or a support jack to keep the spring from dropping too far when the lower shock bolt is removed.
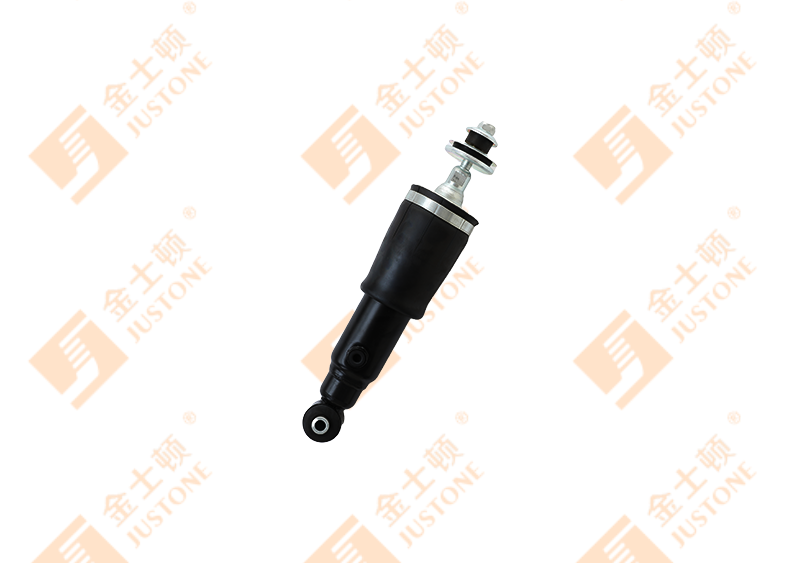
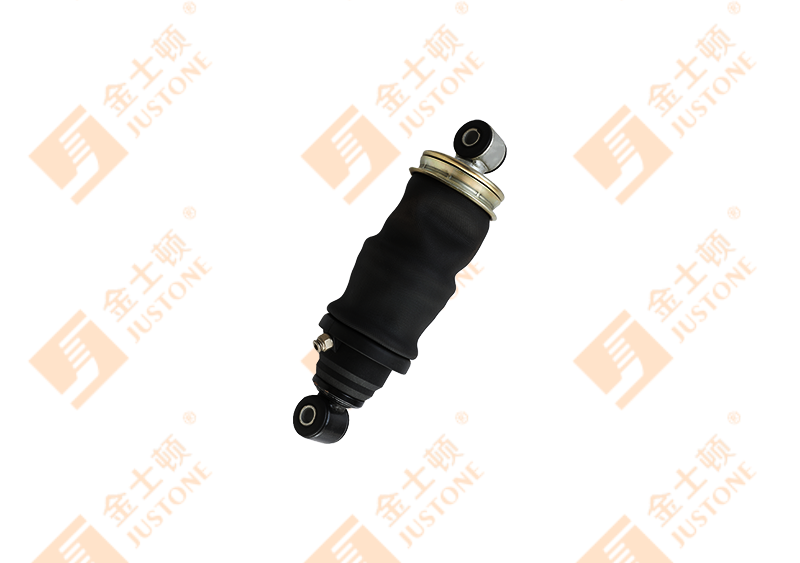
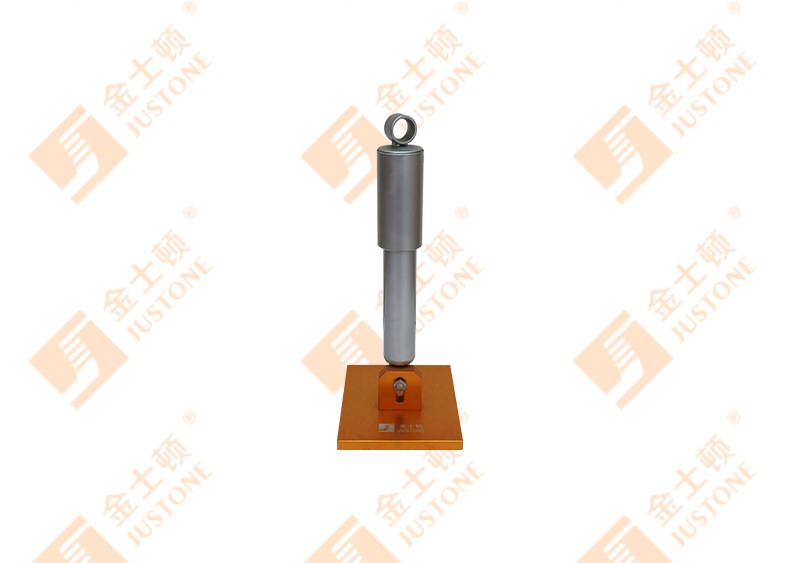 Heavy Duty Truck Chassis Shock Absorbers for Rough TerrainDesigned for trucks operating on construction sites or unpaved roads, these chassis shocks address rear suspension wear. Selecting the correct axle weight rating is critical for durability and stability.View Product →
For vehicles that operate over rough construction sites or unpaved roads, consider the extra wear that the rear suspension experiences. Heavy truck chassis shocks are built for those conditions, and selecting the correct axle weight category matters even more than brand familiarity.
Park on level ground, apply the parking brake, and chock the front wheels. Place the jack under the rear axle or frame according to the manufacturer's instructions. Raise the vehicle and put jack stands on both sides. Never work with an axle that is held on a live hydraulic jack.
Loosen the lug nuts while the vehicle is still on the ground, then raise the axle and remove the wheel. Keep the tire under the frame or axle as an extra safety measure. This reduces the risk of a sudden drop if a jack stand shifts.
Find the top and bottom mounts of the rear shock. On some trailers, the top mount is inside a frame rail and requires an internal socket. Spray both mounting bolts with penetrating oil and wait 10 to 15 minutes. This step is not optional on commercial vehicles; the bolts are exposed to road salt, mud, and heat, and rusted threads can become impossible to remove without a cutting torch.
Use a breaker bar or an impact gun to remove the fasteners. If the shock shaft spins, hold the backing nut with a wrench. Store the old fasteners in a safe place and compare them to the new hardware. A stretched bolt is a silent failure that can cause the new damper to loosen within a few thousand miles.
Press down on the lower mount arm to release the damper. If the vehicle has a leaf spring, support the axle with a jack before removing the lower bolt. This prevents the spring from dropping unexpectedly and damaging the brake or air lines. Slide the old shock out, and inspect the bushings and rod for visible damage.
Position the new damper with the correct orientation. The shaft and body must not contact the chassis, brake lines, or air lines. Hand-start all fasteners, then snug them alternately to seat the bushing evenly. For trailer shock replacement, the same rule applies: do not torque the lower bolt until the vehicle is on its wheels, or the rubber bushing will be pre-loaded and fail early.
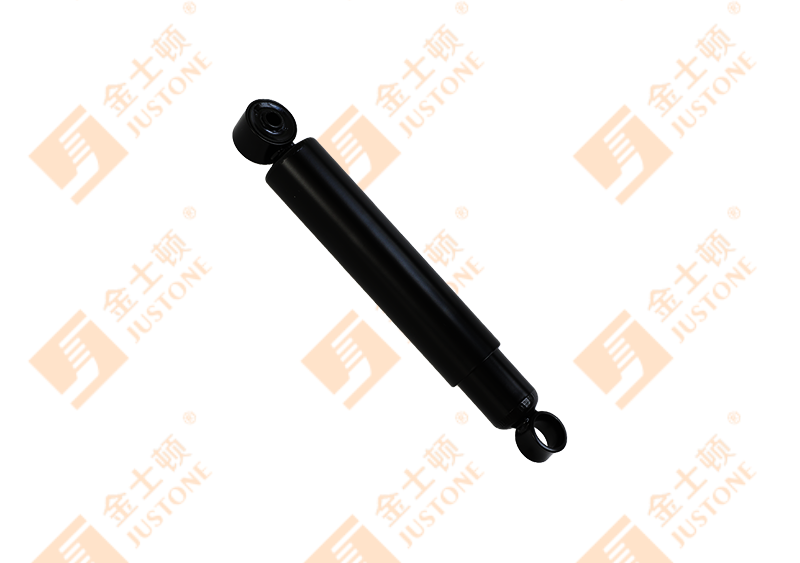
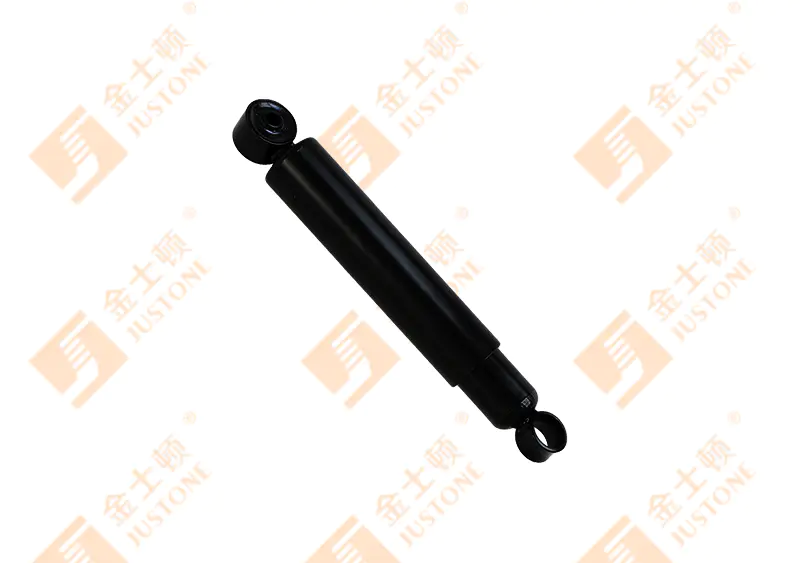 Heavy Duty Suspension Shock Absorbers with Proper InstallationThese suspension shock absorbers ensure a smooth ride when mounted with correct orientation and torqued to specification. Proper installation prevents premature bushing failure and provides stable handling.View Product →
Use a torque wrench and follow the manufacturer's specification. Do not guess. For most commercial rear shock mounts, the bolt torque is significantly higher than passenger car applications. After tightening, lower the vehicle and test-drive on a smooth road. The ride should feel stable, with a single spring movement after a bump rather than a slow wobble.
These errors do not always show up immediately. A slightly over-tightened nut can create a stress riser that fails on the next steep grade, and a skipped torque check can let the damper move laterally until the mounting hole is ovalized. Time spent checking is minor compared to the cost of a grounded truck.
Once the vehicle is back on the ground, tighten the lower mounting bolt again after a few miles. Rubber bushings take a set when the suspension settles, and a final re-torque prevents unwanted movement. For the first 100 to 300 miles, avoid fully loaded runs and harsh curbs. The internal gas pressure and the valve stack need time to stabilize. A slight difference in ride feel is normal during the break-in period, but any clunk, knock, or random squeak means the installation should be inspected immediately.
Write down the installation date and the vehicle mileage on a service log. This helps with future maintenance planning and gives a clear record for drivers who may not recall when the rear shocks were last replaced.
If the task feels beyond your equipment or experience, consult a professional. An incorrectly installed rear shock can cause instability and excessive wear on tires, bearings, and driveline components. When you need replacement shocks for commercial trucks or trailers, choose parts matched to the axle load and duty cycle. A clean install will help the vehicle stay on the road longer.
Contact us for the latest news.
Copyright @ Hangzhou Justone Industry Co., Ltd.
 OEM Commercial Vehicle Shock Absorbers Manufacturers
Wholesale Car Shock Absorbers Factory
OEM Commercial Vehicle Shock Absorbers Manufacturers
Wholesale Car Shock Absorbers Factory