English
 Deutsch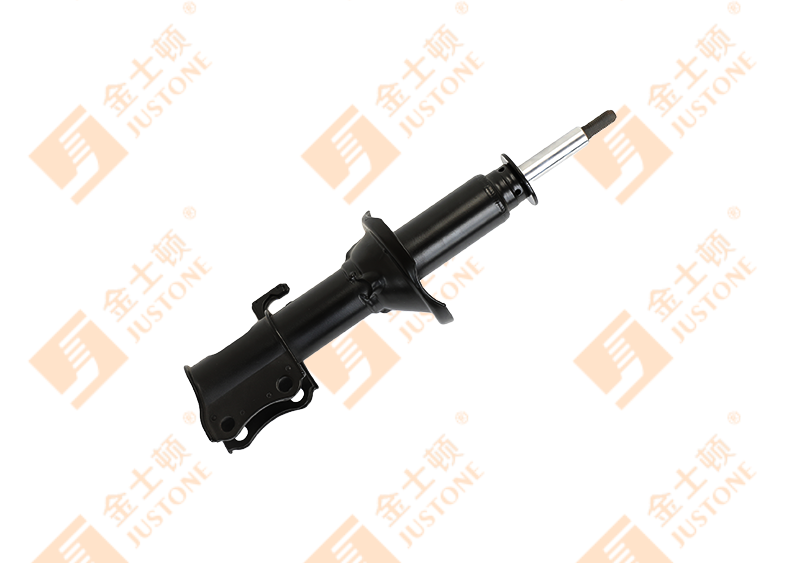
Didn't find a product that suits you?
Contact us for the latest news.

Changing shocks on a car is a realistic DIY job if you have a jack, jack stands, basic sockets, and a torque wrench. Most bolt-on shock absorbers take 30 to 60 minutes per axle, and the payoff is better ride control, shorter stopping distances, and more even tire wear. Start by inspecting the suspension, gather the right replacement parts, then follow a clean removal-and-installation sequence.
Before picking parts, review what a shock absorber actually does so you can spot early signs of wear and choose parts that match the vehicle’s damping needs.
Content
Shock absorbers control spring oscillation, not spring height. A car with healthy shocks settles quickly after hitting a bump. When the damping fades, the body keeps moving, which makes the tires lose contact with the road and allows the suspension to float over uneven surfaces.
Many manufacturers suggest inspecting shocks around 75,000 miles, but rough roads, heavy loads, and worn tires can shorten that interval. The more obvious signs include:
If you can push down on a corner and the car rebounds more than once, the damping is likely weak. A quick bounce test is not a substitute for an under-car inspection, but it is a good first check before you decide to replace the parts.
For a separate shock absorber, you do not need a spring compressor. That is for MacPherson struts. What you need is a safe way to support the car and enough socket extensions to reach the upper mount. Assemble these items before you start:
Use replacement shock absorbers with the same type of mounting, whether stud, eye, or pin, and similar compressed and extended lengths. A shock for a different ride height or axle load can change the suspension geometry and produce a harsh ride.
The exact sequence differs from vehicle to vehicle, but this process covers the common bolt-on shock layout. If your car has electronic ride-height sensors or air suspension, consult the workshop manual before lifting the vehicle.
The general procedure is the same, but access and mounting details differ. Front shocks are often more difficult to reach because the upper mount may sit behind a strut tower or under the cowl. Rear shocks are sometimes accessible from the trunk, cargo area, or directly under the car.
| Aspect | Front shocks | Rear shocks |
|---|---|---|
| Access | Often through the wheel well after removing the wheel | May be accessible from the trunk, cargo area, or undercarriage |
| Mount design | Usually a top stud with a nut and a lower bolt | Often an eye mount at both ends or a top stud with a lower bolt |
| Weight on suspension | Front suspension may need support if the anti-roll bar is disconnected | Normally no spring compression required for a separate shock |
| Torque access | May require a swivel socket and extension | Generally easier to reach with straight sockets |
If your vehicle has struts instead of separate shocks, the front strut is a spring-bearing structural part. Changing a strut requires a spring compressor and usually affects wheel alignment. For bolt-on shocks, no spring compressor is needed, but you still need to support the suspension lower arm while removing the top or bottom bolts.
Wait until the vehicle is at normal ride height before you torque the bolts. This rule applies to shock absorber mounting bolts and anything with rubber bushings. If the car is still in the air, the suspension is drooping, and the bushing center is not in its normal working position. Once the car is back on its wheels, the bushing twists when you tighten it, which shortens its life. Lower the car, let the suspension settle, and torque in small steps.
After installation, make a short test drive on a road you know. Listen for clicks or clunks from the mounts. A firm feeling for the first 100 to 200 miles is normal for new shocks; they may settle into a slightly softer ride. If the car still fails the bounce test, re-check the mounting bolts and inspect the anti-roll bar links and control-arm bushings for separate damage.
The same replacement method applies to many vehicles beyond cars, but the parts are heavier and the mounting points vary. If you maintain commercial vehicles, check the chassis units first. The ride control problems look exactly like a car’s, but a heavy truck adds much more unsprung weight and higher suspension loads. Study how shock absorbers function in heavy truck chassis before choosing a valve profile that may be too soft for the axle.
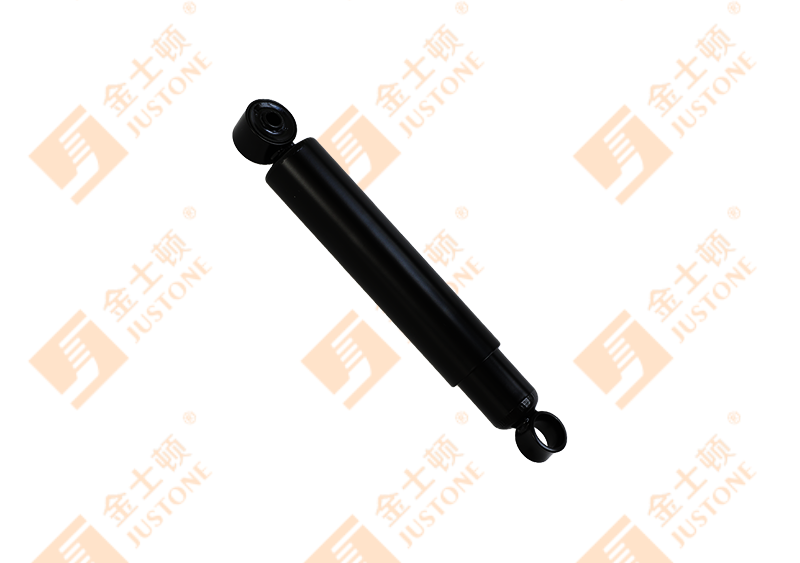
On a heavy truck, the chassis shocks are the first thing to replace. They are longer, heavier, and sized for a much larger axle load, so you need units designed for that duty cycle. Select from heavy truck chassis shock absorbers that match the original mounting points and ride height.
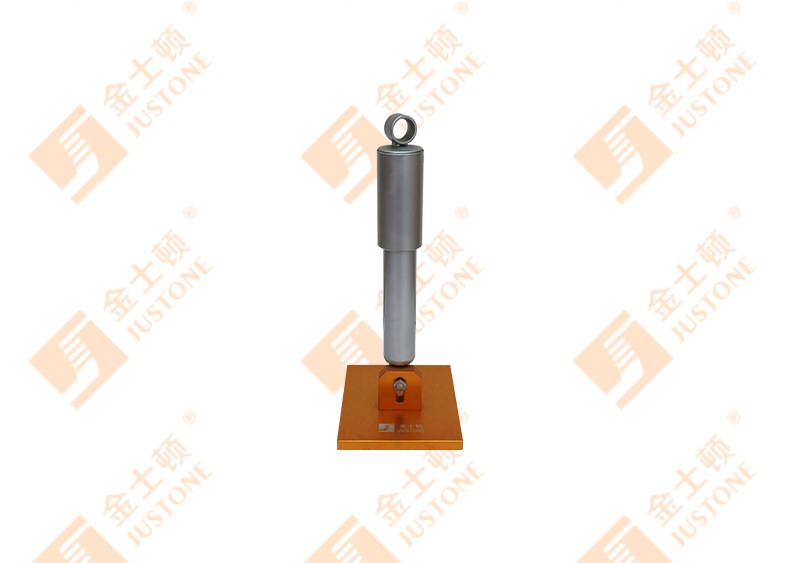 Heavy Truck Chassis Shock Absorbers Manufacturers, Suppliers, FactoryChina OEM Heavy Truck Chassis Shock Absorbers Manufacturers, Wholesale Heavy Truck Chassis Shock Absorbers Suppliers and Factory, Hangzho...View Product →
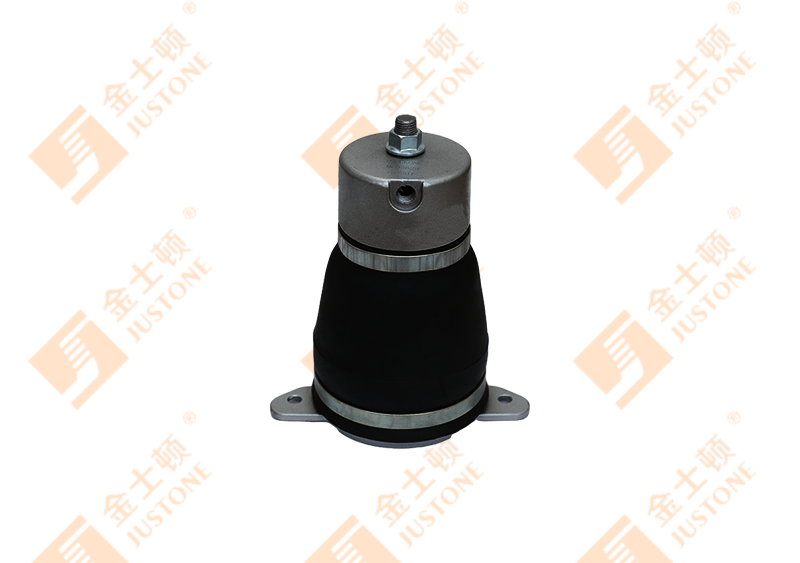
For trucks with separate cab mounts, the cab is another part of the vehicle that needs damping. Cab shocks control vertical movement over rough pavement and are often overlooked during a chassis service. While the vehicle is lifted, inspect the rubber mounts and check how cabin shock absorbers integrate with vehicle suspension systems. If you need replacements, use cab-specific parts such as cabin shock absorbers rather than a generic car shock.
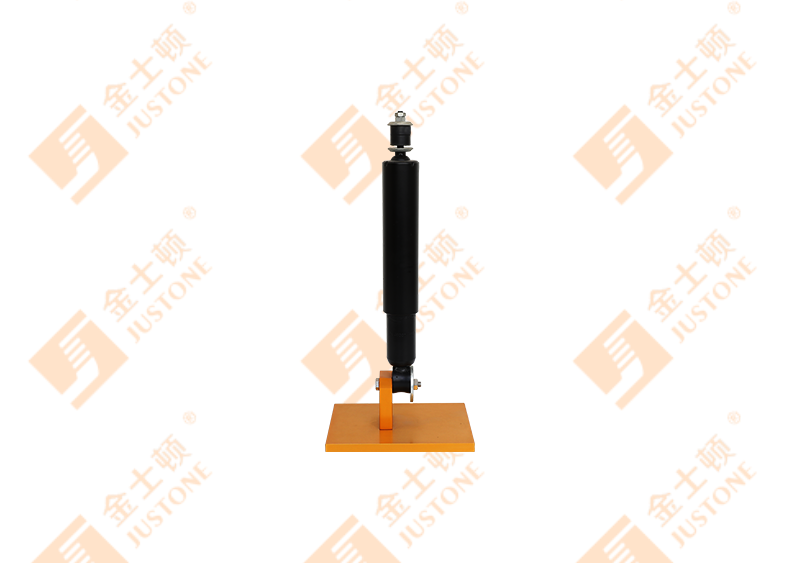 Cabin Shock Absorbers Manufacturers, Suppliers, FactoryAs China OEM Cabin Shock Absorbers Manufacturers, Wholesale Cabin Shock Absorbers Suppliers and Factory, Hangzhou Justone offer Custom Ca...View Product →
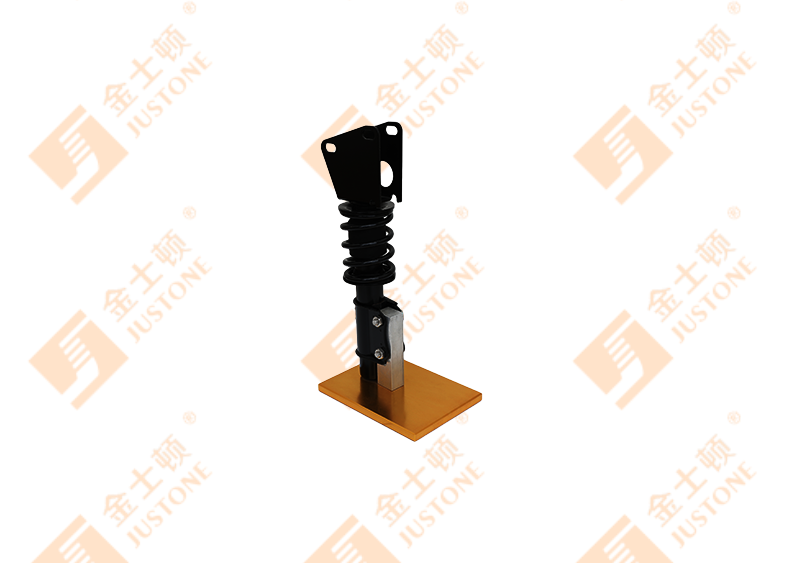
A trailer with its own suspension deserves the same attention. A bouncing trailer reduces rear-tire grip on the tow vehicle and can cause sway during emergency braking. Match the replacement to the trailer’s axle rating and mounting style, and use trailer shock absorbers rather than a light-duty car shock. The goal is a combination that settles together after a bump, not one that keeps moving independently.
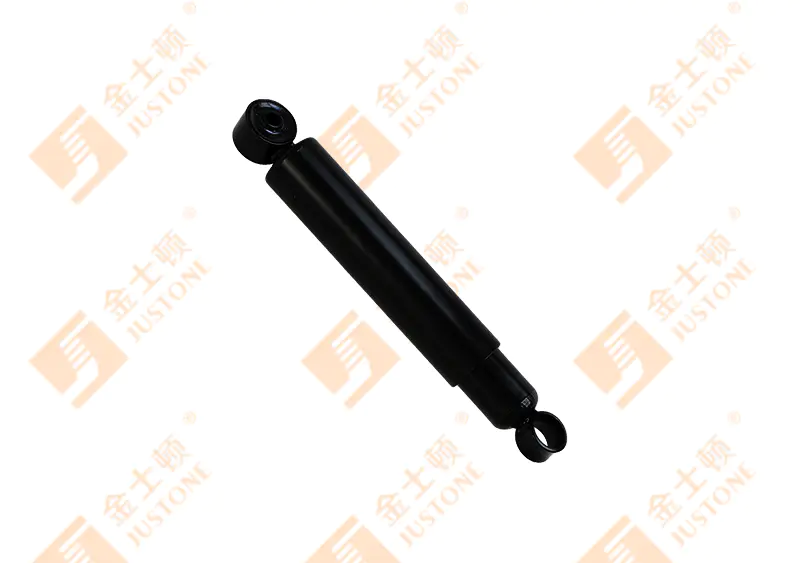 Suspension Shock Absorbers Manufacturers, Suppliers, FactoryChina OEM Suspension Shock Absorbers Manufacturers, Wholesale Suspension Shock Absorbers Suppliers and Factory, Hangzhou Justone offer Cu...View Product →
Contact us for the latest news.
Copyright @ Hangzhou Justone Industry Co., Ltd.
 OEM Commercial Vehicle Shock Absorbers Manufacturers
Wholesale Car Shock Absorbers Factory
OEM Commercial Vehicle Shock Absorbers Manufacturers
Wholesale Car Shock Absorbers Factory